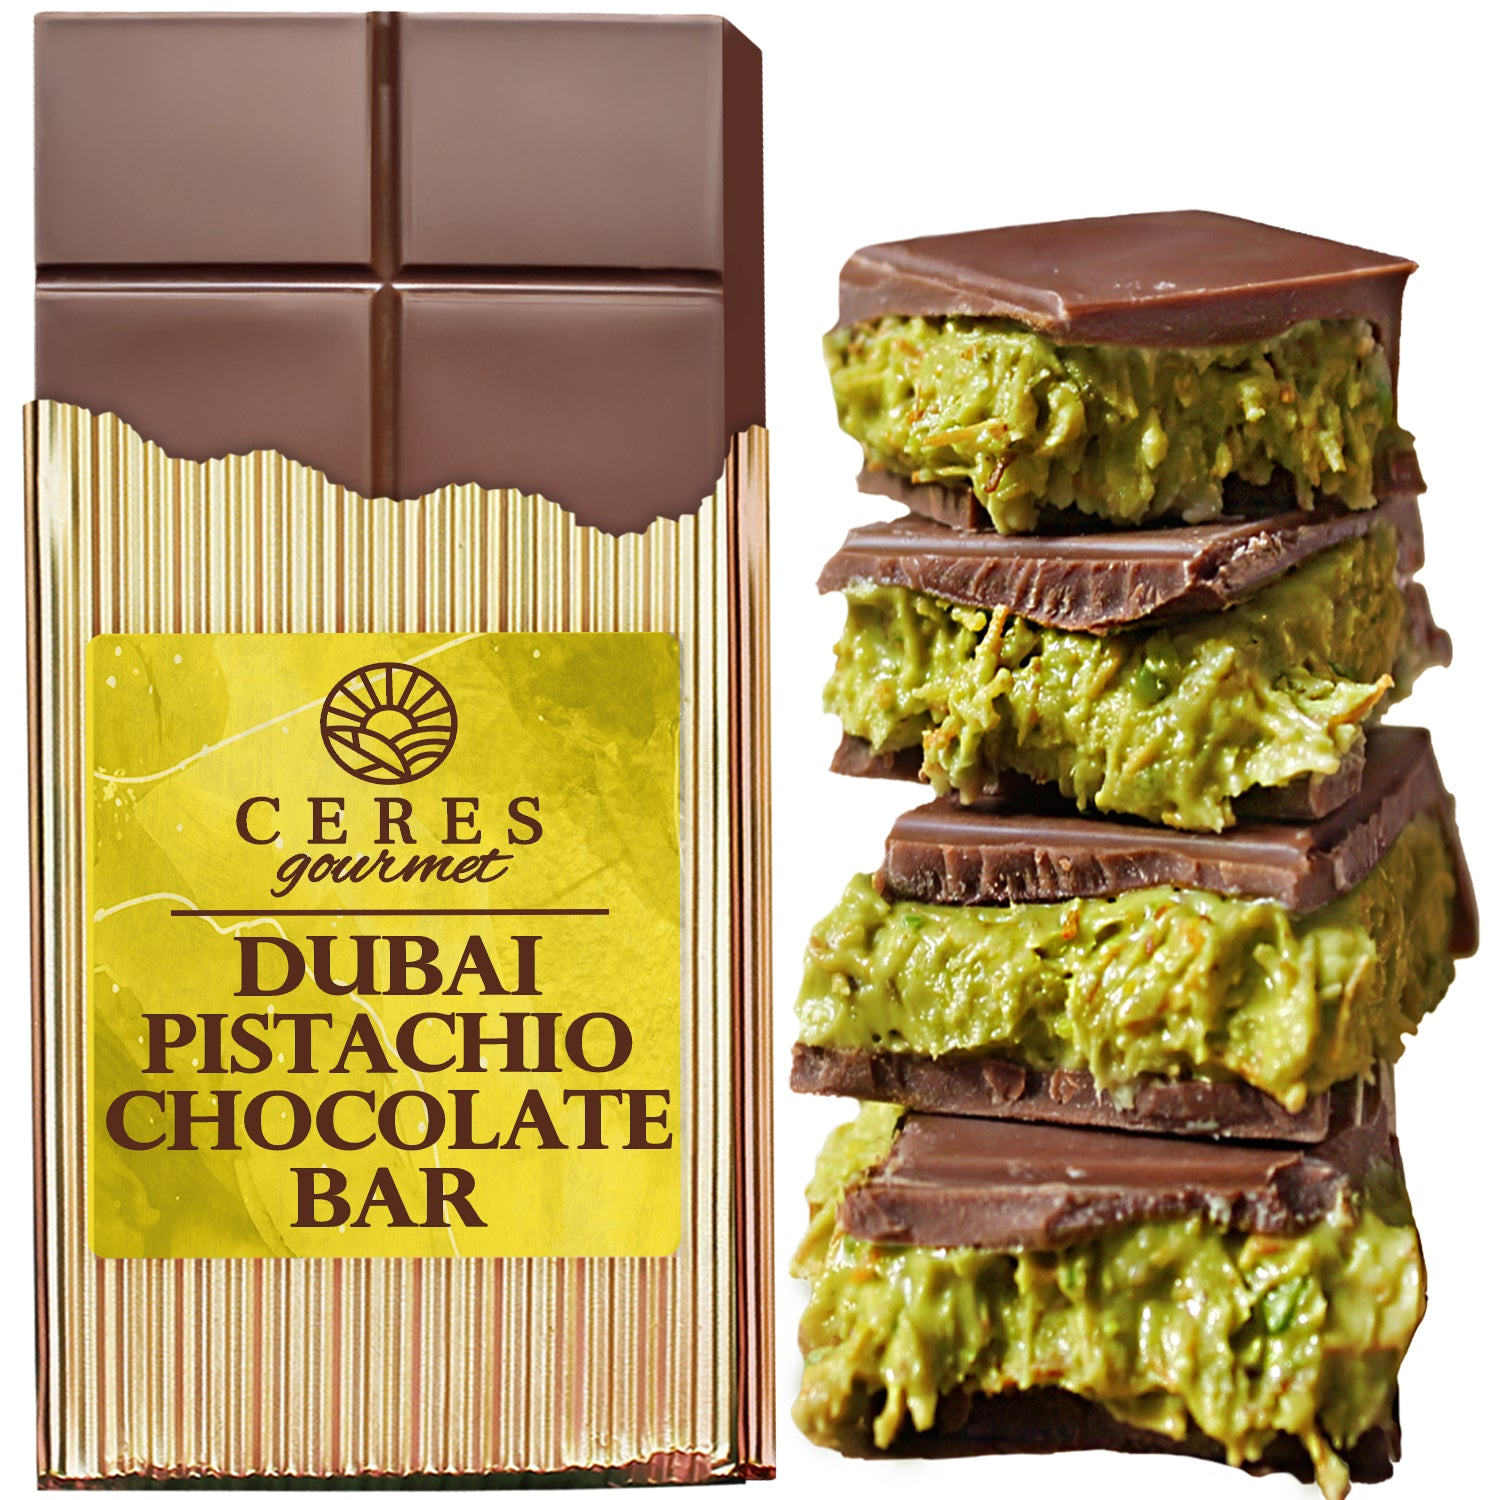
Decadent Knafeh Chocolate Bar Delight
Before you begin, make sure to have the following ingredients ready:
• 1 package of kataifi dough (shredded phyllo)
• 1 cup unsalted butter, melted
• 1 ½ cups sugar
• 1 cup water
• 1 tablespoon lemon juice
• 1 tablespoon rose water
• 1 tablespoon orange blossom water
• 2 cups ricotta cheese
• 2 cups shredded mozzarella cheese
• 1 cup heavy cream
• 2 cups melted dark chocolate
• 1 cup chopped pistachios for garnish
If you’re short on time, you can purchase our handmade Knafeh Chocolate Bar.
Preparing the Knafeh Base
Step 1: Thaw and Prep Kataifi Dough
Follow the package instructions to thaw the kataifi dough. Once thawed, gently separate the strands and transfer them to a large bowl. Pour the melted butter evenly over the dough and use your hands to thoroughly coat all strands. This step is essential to create a crisp base that will hold the filling well.
Step 2: Make the Sugar Syrup
In a medium saucepan, combine sugar, water, and lemon juice. Bring to a boil over medium heat, stirring occasionally. Once boiling, reduce the heat and simmer for about 10 minutes until slightly thickened. Remove from heat, stir in rose water and orange blossom water, then set aside to cool. These floral waters add a distinctive aroma that perfectly complements the dessert’s richness.
Step 3: Assemble the Knafeh Layers
Preheat your oven to 350°F (175°C). Butter a 9x13 inch baking dish. Press half of the buttered kataifi dough evenly into the bottom of the dish, ensuring it forms a compact and even layer. This sturdy base will support the filling perfectly.
Filling and Baking
Step 4: Prepare Cheese Filling
Mix ricotta, shredded mozzarella, and heavy cream in a bowl until smooth. Spread this creamy cheese mixture evenly over the kataifi base. The blend of ricotta and mozzarella offers a soft, stretchy filling that contrasts beautifully with the crispy dough.
Step 5: Add the Top Kataifi Layer
Spread the remaining kataifi dough over the cheese filling, pressing gently to create a smooth top layer. Bake for about 45 minutes, or until the top turns golden and crisp. Baking melts the cheese, binding it with the kataifi for a deliciously unified dessert.
Step 6: Pour the Syrup
Once baked, immediately pour the cooled sugar syrup evenly over the hot knafeh. The syrup will soak into the layers, adding moisture and sweetness. Let it cool for at least 30 minutes to allow the syrup to fully absorb, ensuring balanced sweetness in every bite.
Adding the Chocolate
Step 7: Melt the Chocolate
While the knafeh cools, melt the dark chocolate using a double boiler or microwave. If microwaving, heat in 30-second bursts, stirring between, until smooth and fully melted to avoid burning.
Step 8: Spread the Chocolate
After the knafeh has cooled and absorbed the syrup, pour the melted chocolate on top. Spread evenly with a spatula, covering the entire surface. Let the chocolate set for about 15 minutes. This glossy chocolate layer adds elegance and indulgence to the dessert.
Garnishing and Serving
Step 9: Add Pistachios
Sprinkle chopped pistachios evenly over the chocolate, gently pressing them so they stick. The nuts add a satisfying crunch and vibrant color, complementing the chocolate and cheese flavors.
Step 10: Slice and Serve
Once the chocolate is fully set, use a sharp knife to cut the knafeh into bars or squares. Serve at room temperature or slightly chilled. Each bite offers a perfect harmony of textures and flavors—from crispy kataifi to creamy cheese and rich chocolate.
Tips for Success
- Use fresh, quality ingredients, especially cheese and chocolate, to ensure vibrant flavors and ideal textures.
- Make sure kataifi dough is thoroughly coated with butter for an even, crispy texture throughout.
- Allow the knafeh to cool completely before adding chocolate to prevent melting or separation, maintaining clear layers.
Variations to Try
- Nutty Delight: Add chopped almonds or walnuts between the cheese and top kataifi layer for extra crunch and flavor.
- White Chocolate Twist: Swap dark chocolate for white chocolate for a sweeter, creamier finish that pairs wonderfully with the floral syrup and cheese.
- Fruit Infusion: Insert a layer of fresh fruit like berries or sliced bananas between the cheese and kataifi for a fresh, fruity contrast.
Storing Your Knafeh Chocolate Bar
Store leftover Knafeh Chocolate Bars in an airtight container in the fridge for up to 5 days. Before serving, bring to room temperature or warm slightly in the microwave. Proper storage preserves the dessert’s flavor and texture, keeping it enjoyable even days later.
Conclusion
Making a Knafeh Chocolate Bar Delight is a truly rewarding culinary experience, blending Middle Eastern tradition with decadent chocolate dessert. Perfect for special occasions or treating yourself and loved ones, the rich layers of knafeh paired with smooth chocolate and crunchy pistachios create a memorable treat sure to become a household favorite.
Frequently Asked Questions
Can I prepare the Knafeh Chocolate Bar in advance?
Yes, it can be made ahead and stored in the fridge for up to 5 days. Warm slightly or bring to room temperature before serving for optimal flavor and texture.
Is it possible to use different types of chocolate for this recipe?
Definitely! Dark chocolate is preferred for richness, but white or milk chocolate can be used to customize the flavor.
Can I freeze leftover Knafeh Chocolate Bars?
Refrigeration is recommended to maintain texture. If freezing, wrap well and use within one week for best results.


